9.30.2015

How to Fix “Unmountable Boot Volume” Error in Windows 10

“Help! My Windows 10 laptop suddenly restarts by itself, and then it can’t enter the system as usual. At the same time, the blue screen occurs and the error is ‘UNMOUNTABLE_BOOT_VOLUME’. Oh now I can’t enter the laptop. I have restarted the machine for so many times and the error still comes to my eyes. Could you please help me?”

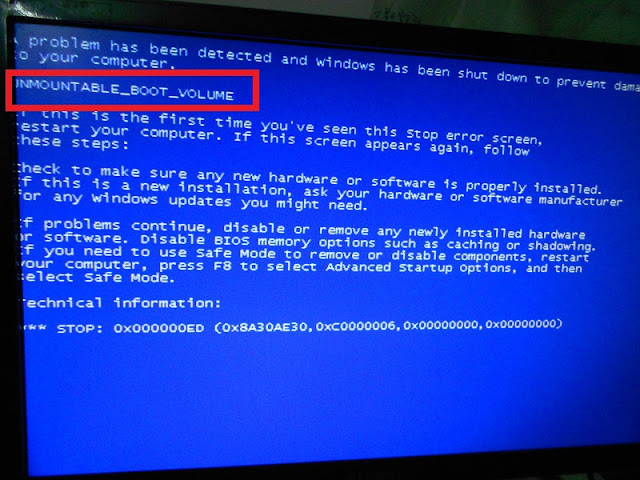
Even though Windows 10 is a new Operating System, there are still some bugs in it. Just like the above problem shows, the “Unmountable Boot Volume” error is one of them. But how to deal with this problem seems more important than to discuss why it happens. Now in this article, you will learn how to fix Unmountable Boot Volume error in Windows 10.


Alternative 1: Use chkdsk to Fix “Unmountable Boot Volume” error

Try to tear down the disk and install it to another desktop, to check whether there is bad sector in the hard disk. If yes, one of the disk won’t be checked normally. So you can use the disk recovery tool in Windows to recover it. Type the CMD in the start menu, and then type “chkdsk C:/r”. It will automatically recover the disk.


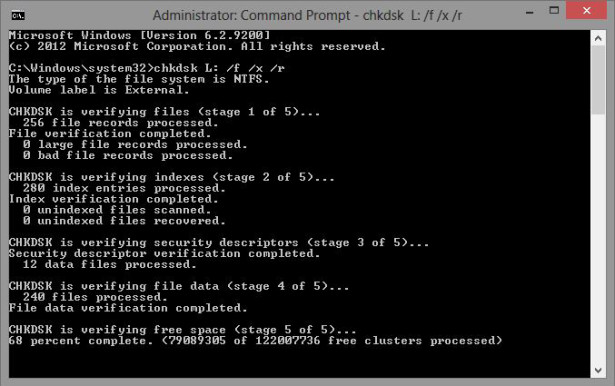
Alternative 2: Use Windows Boot Genius to Fix “Unmountable Boot Volume” error

Another better option is to make use of Windows Boot Genius to fix the Windows problem. This Windows boot repair tool is designed to fix all the Windows errors and it is easier to use than any other free methods. You can see how to use it as below.
Step 1: Download the program from another bootable computer and then install it.
Step 2: Insert a blank CD/DVD/USB to the workable computer and then run the software.
Step 3: Choose your flash drive and click “Burn” button to create a bootable disk.
Step 4: Take the disk to your original PC and then insert the disk to it. Restart your machine from the disk.
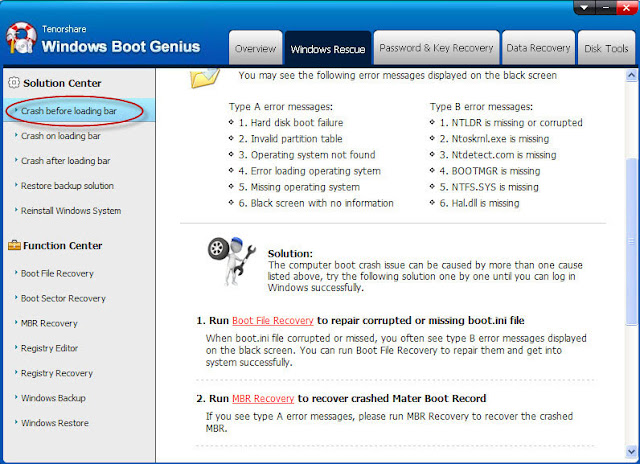
Step 5: After that, you can see the main user interface. Choose the “Windows Rescue” option and then follow the way to fix “Windows 10 Unmountable Boot Volume” error.

9.15.2015

How to Disable Secure Boot in Windows 10

In Windows 10 computer, there is a UEFI secure boot. And just like Windows 8 and Windows 8.1, this secure boot is able to prevent your computer starting from external drive. Nowadays, most of the Windows 10 system computers enable the USEFI security boot option. For some Windows users that are not accustomed to Windows 10, they maybe want to downgrade Windows 10 to Windows 8.1/8/7. However, in order to do that, you need to disable UEFI option In BIOS. In this tutorial, we will introduce how to disable Windows 10 UEFI secure boot option.

When you see the OS Optimized Defaults option has been disabled. You can press F10 or F12 to enter the BIOS setting, and then to access UEFI settings. No let's see how to do that.

Step 1: Go to PC Settings
Press Windows+I keys and the open settings will be opened. You can see the selection of Change PC settings. Just click on it.


Step 2: Go to Advanced Startup
Go to General PC settings and then select the “Advanced startup”. After that, click the “Restart now”


Step 3: Access UEFI settings
After clicking the Restart now button, you will go to another interface as below. Just feel easy to choose the “Troubleshoot” option.


In the “Troubleshoot” menu, select “Advanced options”.

 
In the “Advanced options” menu, select “UEFI Firmware Settings”.


After that, click the “Restart” button in the next interface.


Step 4: Disable secure boot in UEFI
After the restarting, now you have access to the UEFI utility. Then you can change its BIOS settings. Just move your mouse to Boot option and then you will see the Secure Boot option, which is set to be enabled. Just select it and change it to “Disabled”. Confirm it as Yes. Then press F10 to save the changes and exit UEFI settings. Then you have finished the process to disable secure boot in Windows 10.


Well, that’s all about how to disable secure boot in Windows 10. Have you got it? By the way, if you forgot Windows 10 login password, you can read this tutorial as below:
What to Do If You Forgot or Lost Windows 10 Login Password